Introduction
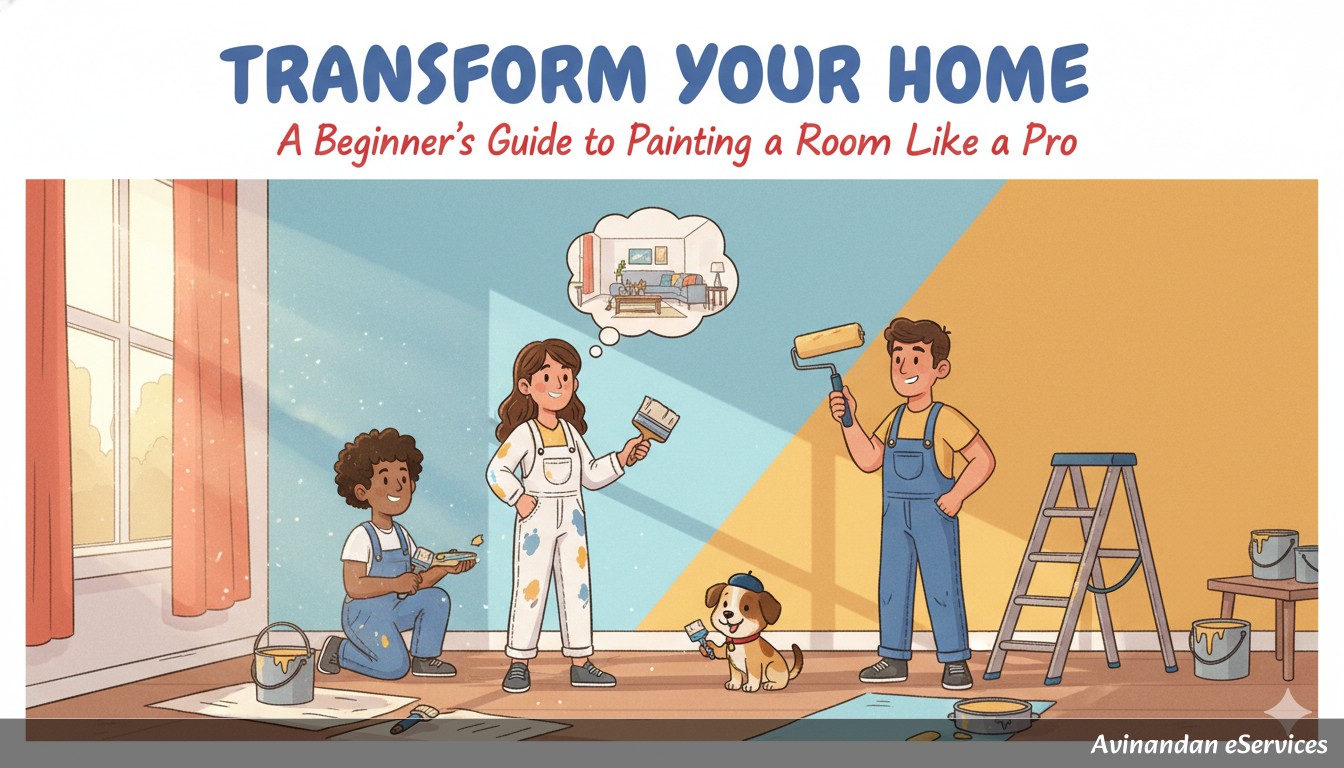
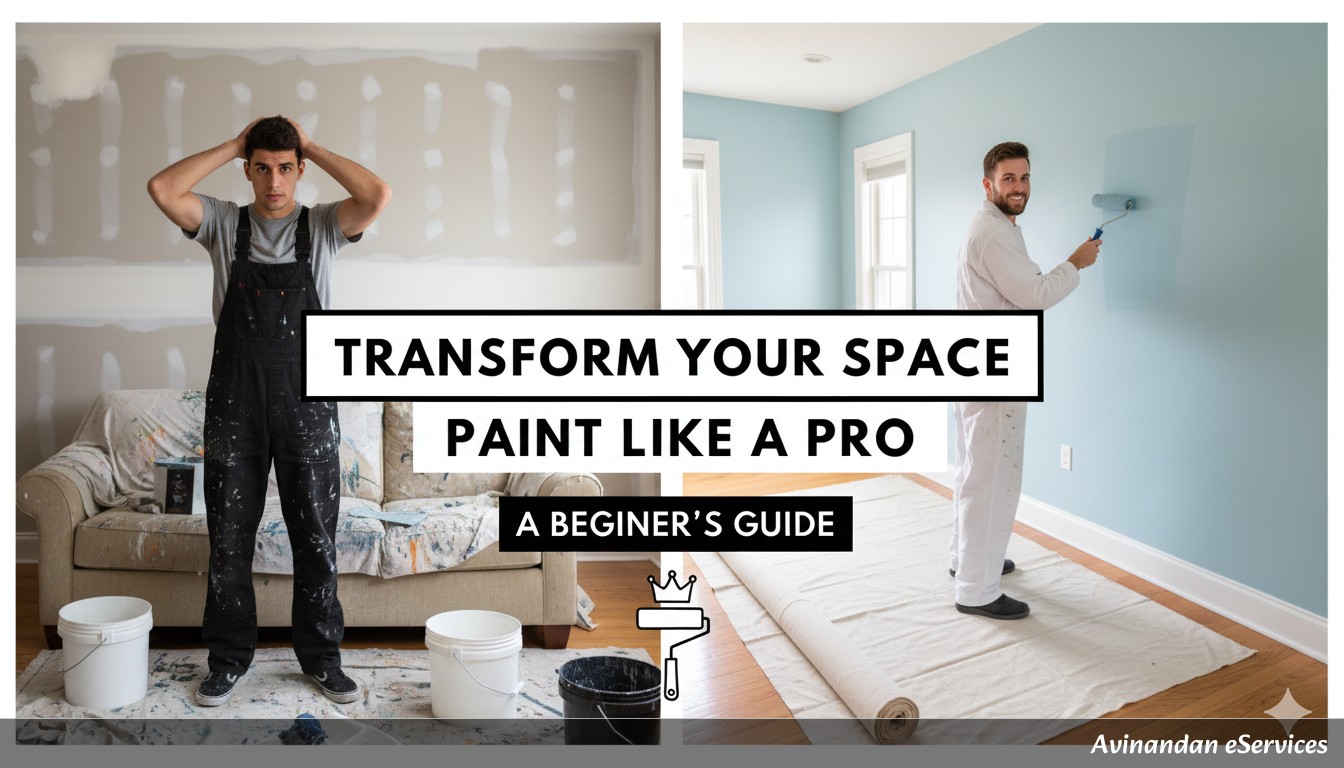
A fresh coat of paint is one of the easiest and most impactful ways to completely transform a room. Whether you're looking to brighten up a living space, create a cozy bedroom retreat, or add a splash of color to your kitchen, a successful paint job can make all the difference. This guide will walk you through every step of the process, from choosing your materials to applying the final coat, ensuring you achieve a professional-looking finish you can be proud of.
Materials and Tools Needed
Having the right tools is crucial for a smooth and efficient painting project. Here's a comprehensive list of what you'll need:
- Paint and Primer: Choose a high-quality interior paint and a suitable primer if needed.
- Paint Rollers: A standard 9-inch roller for walls and a smaller one for trim.
- Roller Covers: Use a ⅜- to ½-inch nap for smooth surfaces.
- Paint Brushes: A 2-inch angled brush is perfect for cutting in and detailed work.
- Paint Tray and Liners: For easy paint loading and cleanup.
- Painter's Tape: To protect trim, ceilings, and floors.
- Drop Cloths: Canvas or plastic to protect your floors and furniture.
- Spackle and Putty Knife: For filling any holes or imperfections in the walls.
- Sandpaper: Fine-grit (220-grit) for smoothing patched areas.
- Cleaning Supplies: Mild soap, water, and clean rags or a sponge.
- Screwdriver: To remove outlet covers and switch plates.
- Ladder or Step Stool: For reaching high areas safely.
Step-by-Step Guide
Step 1: Prepare the Room
Proper preparation is the key to a flawless paint job. Start by removing all furniture from the room. If you can't move everything out, group the remaining items in the center of the room and cover them with a drop cloth or plastic sheeting. Next, take down any curtains, blinds, and wall art. Use a screwdriver to remove all outlet covers and light switch plates, placing the screws in a small bag so they don't get lost. Finally, lay down drop cloths to protect your flooring.
Step 2: Clean and Repair the Walls
For paint to adhere properly, your walls need to be clean. Wipe them down with a damp cloth and a mild soap and water solution to remove any dust, dirt, or grease. Allow the walls to dry completely. Inspect the walls for any holes, cracks, or imperfections. Use a putty knife to apply spackle to any holes, and once dry, sand the patched areas smooth with fine-grit sandpaper. Wipe away any sanding dust with a damp cloth.
Step 3: Apply Painter's Tape
To achieve clean, crisp lines, apply painter's tape along the top of the baseboards, around window and door trim, and along the ceiling edge. Press the tape down firmly to prevent any paint from seeping underneath.
Step 4: Prime the Walls (If Necessary)
Primer helps to cover old colors, hide stains, and ensure even paint coverage. It's especially important if you are painting a light color over a dark one or if you have patched areas on your walls. Using an angled brush, apply primer to the edges and corners of the room (a technique called "cutting in"). Then, use a roller to apply primer to the rest of the wall surfaces. Allow the primer to dry completely according to the manufacturer's instructions.
Step 5: Paint the Room
Now for the fun part! Before you begin, stir your paint thoroughly. Start by "cutting in" again, this time with your chosen paint color. Use your angled brush to paint along the edges of the trim, ceiling, and corners. Once you've cut in, it's time to roll the walls. Pour some paint into your paint tray. Load your roller with paint, and then roll it on the tray's ramp to remove any excess. Begin painting the walls, working in a "W" or "V" pattern to ensure even coverage. Let the first coat dry completely (usually 2-4 hours) before applying a second coat.
Step 6: Clean Up
While the final coat of paint is still slightly wet, carefully remove the painter's tape at a 45-degree angle to avoid peeling off any of the new paint. Wash your brushes and rollers with soap and water if you used latex paint. Once the paint is completely dry, you can move your furniture back into the room and reattach your outlet covers and switch plates.
Tips for Success / Common Mistakes to Avoid
- Don't Skip the Prep Work: Failing to properly clean and prepare your walls is one of the biggest mistakes you can make.
- Use High-Quality Tools: Good brushes and rollers will give you a smoother finish.
- Don't Overload Your Brush or Roller: This can lead to drips and an uneven finish.
- Maintain a Wet Edge: As you roll, overlap the previous stroke to avoid lap marks.
- Paint in Good Light: Ensure you have adequate lighting to see any missed spots or uneven coverage.
Safety First!
Even a seemingly simple DIY project like painting requires some safety precautions.
- Ensure Proper Ventilation: Open windows and doors to allow for fresh air circulation and help dissipate paint fumes. Using a fan to exhaust air out a window can also be effective.
- Use a Ladder Safely: If you're using a ladder or step stool, make sure it is on a stable, level surface. Always face the ladder when climbing and keep your body centered.
- Protect Yourself: Consider wearing safety glasses to protect your eyes from paint splatters. Gloves can help keep your hands clean.
- Take Breaks: If you start to feel dizzy or get a headache from the fumes, take a break and get some fresh air.
- Keep Children and Pets Away: It's best to keep children and pets out of the room until the paint is completely dry.